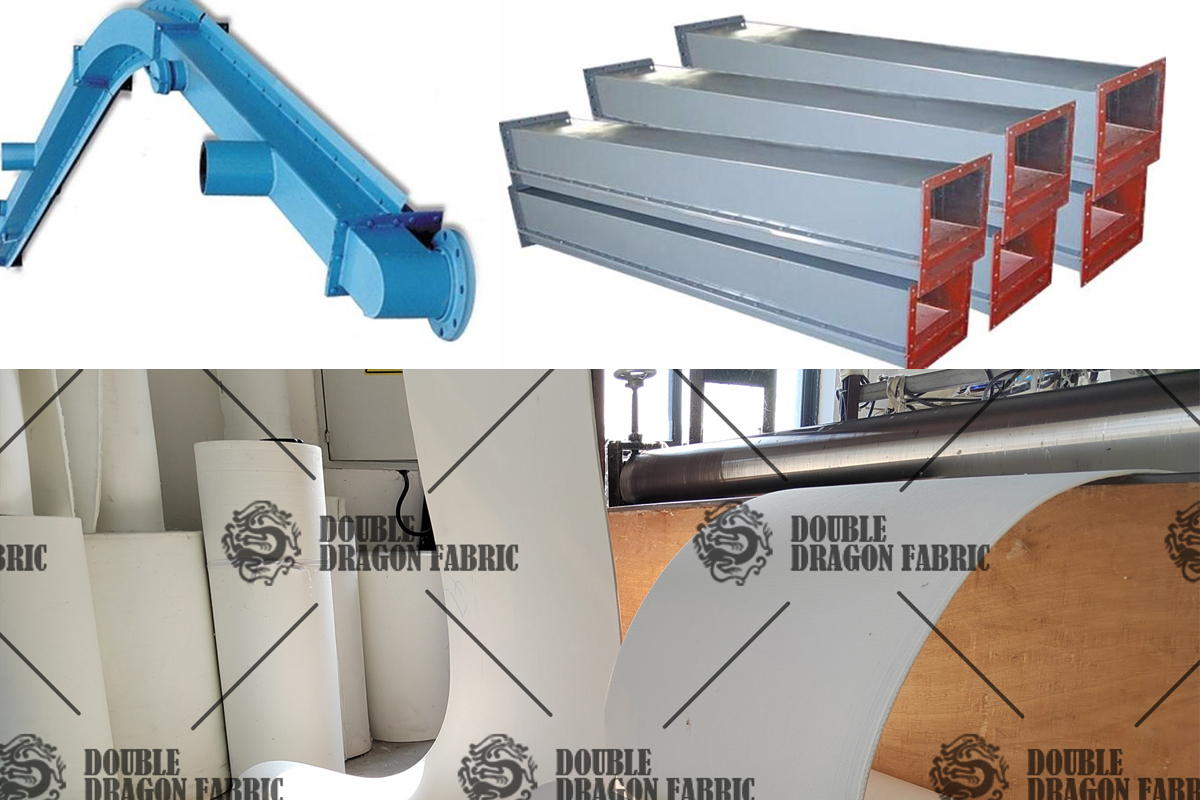
Airslide fabric also known as air slide canvas, plays a crucial role in bulk material handling systems. Its high permeability, low friction, and strong durability make it indispensable in industries such as cement plants, chemical factories, and power stations. Correct installation and proper maintenance are essential to ensure long service life and consistent performance.
Why Proper Installation Matters
When installed correctly, airslide fabric provides:
- Consistent airflow for smooth material transport.
- Reduced blockages and minimal material buildup.
- Lower maintenance costs by extending fabric life.
- Improved efficiency of pneumatic conveying systems.
Conversely, poor installation may lead to air leaks, sagging, or blockages, which disrupt operations and increase downtime.
Step-by-Step Installation Guide
Step 1: Prepare Equipment
Before starting, gather all tools and materials. Ensure staple guns, sealing irons, and measuring tools work properly. Check that the airslide fabric meets the correct industrial specifications.
Step 2: Measure and Cut
Accurate measurement is the foundation of successful installation. Measure the required length and width carefully. Always add 2–3% extra length to allow for sag or tension adjustments. Then, cut the fabric precisely with sharp tools to avoid frayed edges.
Step 3: Install Fabric
Now, fix the fabric securely to the aeration pad with a staple gun. Apply even pressure along the edges to prevent airflow imbalance. A tightly attached fabric ensures stability during high-capacity operations.
Step 4: Join Sections
When the airslide exceeds fabric width, overlap sections by at least 10 cm. Heat-seal the overlap with a sealing iron, making the joint both airtight and durable. Without a proper seal, leaks or uneven airflow may occur.
Step 5: Position the Fabric
After sealing, lay the fabric smoothly across the system. Avoid wrinkles, as they restrict airflow. Also, make sure the fabric does not rub against sharp components, which may weaken it over time.
Step 6: Apply Tension
Correct tension is essential. Tighten the fabric gradually until it supports proper airflow without sagging. The level of tension depends on both system size and industrial load requirements.
Step 7: Test the System
Finally, test the airslide system thoroughly. Look for leaks, irregular airflow, or fabric detachment. Fix any problems immediately before full operation begins. Regular testing reduces risks during large-scale production.
Air slide fabric:Maintenance Guidelines
Even with proper installation, airslide fabric requires routine inspections and preventive care to remain efficient.
Regular Inspections
- Inspect fabric weekly for tears, leaks, or sagging.
- Check all sealing joints for durability.
Cleaning Procedures
- Keep the system free from dust buildup.
- Use compressed air or soft brushes to remove material deposits.
Tension Adjustment
- Recheck tension monthly.
- Tighten or loosen fabric when sagging or airflow inconsistency appears.
Uses of Air slide fabric
- Cement Industry: Transporting cement powder between silos and mills.
- Chemical Plants: Conveying fine powders and additives safely.
- Power Stations: Moving fly ash efficiently in pneumatic systems.